
Rangoli Kolam Alpana Mandana Aipan Muggu Easy Rangoli designs Simple Rangoli designs for beginners Rangoli with dots How to make Mandana
- The Enchanting World of Rangoli:
- Hook: Start with a sensory description of a festive entrance decorated with a beautiful, glowing rangoli.
- Definition: Briefly explain what Rangoli (Kolam, Muggu, Alpana, etc.) is—an ancient Indian folk art of creating patterns on the floor.
- Significance: Discuss its cultural, spiritual, and aesthetic importance (welcoming prosperity, positive energy, and Goddess Lakshmi).
- The “Easy” Promise: Address the common fear/misconception that rangoli is too complex or time-consuming. State the core promise: This guide will show even absolute beginners how to create stunning designs quickly and easily.
- B. What to Expect from This Ultimate Guide:
- Briefly list the major sections (Tools, Techniques, Design Categories, Eco-Friendly options, etc.).
- A Personal Anecdote: Share a short, relatable story of your own first failed/intimidating Mandana attempt and how you discovered the “easy” way.
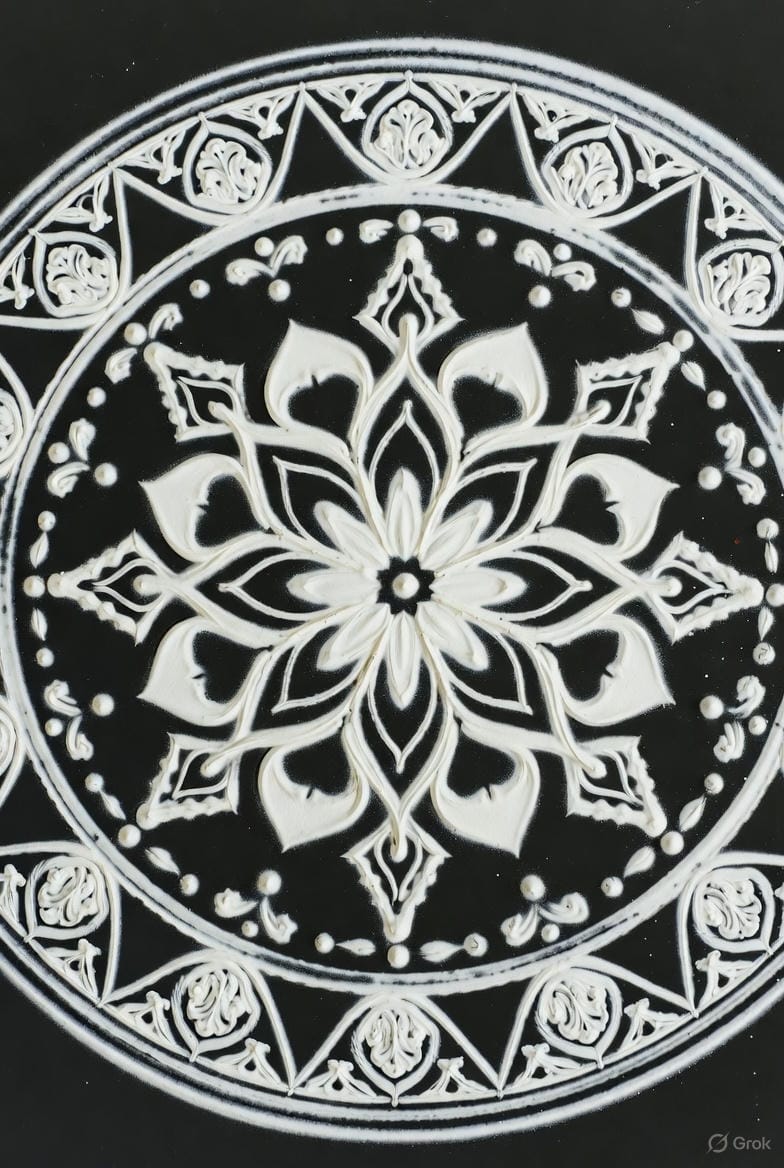
Easy Mandana designs
II. Rangoli Basics: The Toolkit & Materials
- A. Essential Materials for Beginners:
- The Base: Fine-grained Rangoli powder (eco-friendly/rice flour recommended).
- Colour Options (Pros & Cons): Traditional powder, coloured rice/grains (for texture), flower petals, spices (turmeric, kumkum).
- DIY Rangoli Powder: Quick instructions for making coloured rice or flour at home.
- B. Beginner-Friendly Tools & Hacks:
- The Must-Haves: Sieve/strainer (for even spreading), chalk (for outlining).
- The Genius Hacks:
- Dispensing: Squeeze bottles/funnels (for fine lines), plastic cups/lids (for circles), forks/matchsticks (for detailing).
- Stencils: Why stencils are a beginner’s best friend—quick, perfect symmetry, and reusable.
- The “Finger Technique”: Detailed explanation of the simple hand-holding and powder-dropping technique.
- C. Prepping Your Canvas:
- Choosing the right spot (entrance, courtyard, altar).
- Quick floor cleaning and drawing a preliminary outline (if needed).
Easy Mandana designs
III. The Easiest Rangoli Techniques
- A. Technique 1: The Dot-to-Dot (Kolam/Muggu Style)
- What it is: The art of creating a grid of dots and connecting them with lines/curves.
- Step-by-Step Guide:
- Drawing the Dot Grid (3×3, 5×5 for ultra-easy).
- Connecting the dots with simple straight lines (creating a square/star).
- The Knot (Poo) method for curving lines.
- Mini-Design Showcase: 3×3 simple geometric flower.
- B. Technique 2: The Stencil & Fill Method
- Why it works: Guarantees perfect shape and symmetry instantly.
- Step-by-Step Guide:
- Placing the stencil and securing it.
- Filling the stencil with powder (the light shake technique).
- Carefully removing the stencil.
- Adding a simple border or diya placement.
- Mini-Design Showcase: Stenciled Diya or Lakshmi footprints.
- C. Technique 3: The Freehand Swirl & Mandala
- Focus: Perfect for small spaces and daily rangoli (e.g., in a puja room).
- The Hand Practice: Exercises for gaining control over the powder stream (starting with a simple circle).
- Building a Spiral: Starting from the center and continuously circling outwards.
- Adding Petals: Simple technique for adding thick, tear-drop shapes around the spiral/circle.
- Mini-Design Showcase: The 3-layer concentric circle flower.
- D. Technique 4: The Texture/Material Rangoli (Pulses, Grains, Flowers)
- The Base: Using chalk to draw simple, bold outlines.
- Filling: How to lay down rice/pulses/petals neatly within the lines.
- Design Focus: Large, simple shapes that allow the material’s texture to shine.
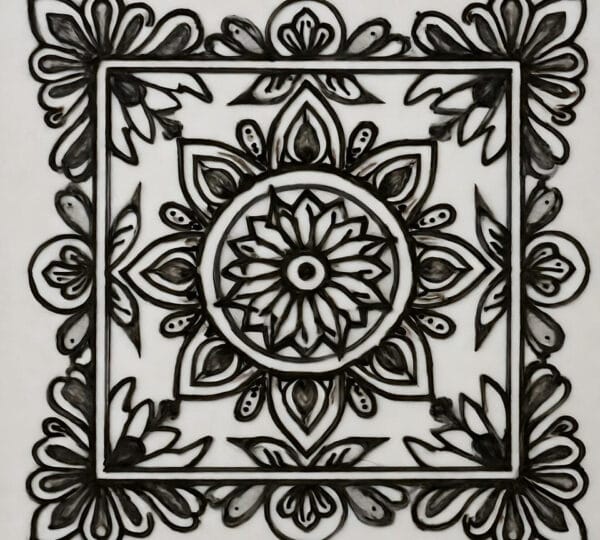
Rangoli
IV. 10 Easy Mandana Design Categories
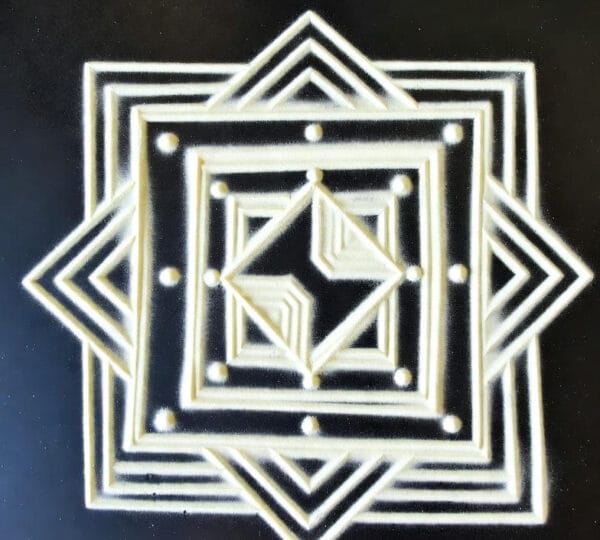
- A. Geometric Simplicity:
- The Square/Rectangle Grid: Using scale/ruler for a modern, neat look.
- The Swastik & Om: Outlining, filling, and adding a simple circle border (symbolic significance).
- B. Quick Floral Magic:
- The Daisy Flower: Simple thick petals around a central circle.
- The Marigold Ring: Using whole marigold and rose petals for a fragrant, quick design (Pookalam style).
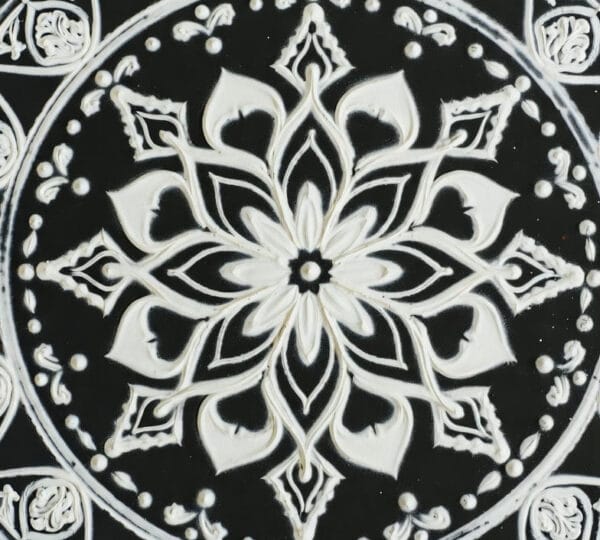
- The Lotus: Breaking down the lotus petal into a simple, easy-to-draw shape.
- C. Auspicious Motifs:
- Goddess Lakshmi’s Feet (Paduka): Stencil or simple freehand technique.
- The Simple Diya (Lamp): Creating a central diya motif, perfect for Diwali.
- The Peacock Feather: A scaled-down, easy version focusing on the circular ‘eye’ and simple colour bands.
- D. Corner & Border Designs:
- Purpose: For narrow entryways or stairs.
- The Repeating Pattern: Using a small, simple shape (like a paisley or tiny flower) and repeating it along the edge.
- E. Water/Floating Mandana:
- Materials: Water in a flat vessel, small flowers/petals, candles/diyas.
- Creating the “Float”: Using oil or wax (or just the surface tension) to keep items on top.
- F. Minimalist Monochrome (Black & White/Single Colour):
- Focus: Intricacy through line work, not colour.
- Kolam Style: Using only white rice flour for a traditional and meditative look.
- G. Using Everyday Tools (Utensil Mandana):
- Spoon/Spatula Art: For creating textures or wide, smooth spreads of colour.
- Comb Art: Dragging a comb through the powder to create instant feathered lines.
V. Mastering the Finishing Touches & Longevity
- A. The Importance of Symmetry (Even in Easy Designs):
- Using a central point and drawing guide lines (lightly with chalk) to ensure balance.
- The “Folding” Trick (for stenciling quarters of a design).
- B. Colour Theory for Mandana:
- Choosing complementary colours (e.g., contrasting red/green, yellow/blue).
- Using white as a boundary/outline colour to make all other colours pop.
- Shading (The Pro-Tip): Simple technique for adding depth by tapping a slightly darker colour onto one side of a petal/shape.
- C. Lighting Up Your Art:
- Integrating Diyas and candles (placing them around the design to avoid burning, or within safe, large spaces).
- Using LED/Battery-operated lights for safety and longevity.
- D. Making Your Rangoli Last:
- Tips for high-traffic areas (using a temporary border/barrier).
- How to “set” the rangoli (a gentle spray of hairspray/water from a distance can sometimes help).
- E. The Post-Celebration Clean-Up:
- Eco-friendly disposal (composting flower petals, feeding grains to birds).
VI. Conclusion & A Creative Challenge
- A. Recap of the Easy Philosophy: Reiterate that rangoli is an expression of joy, not a test of perfection. Embrace simplicity.
- B. A Rangoli for Every Day: Encourage readers to incorporate a small, 5-minute Mandana into their daily routine for a touch of positive energy.
- C. Your Creative Challenge: Give the reader a final, simple action item (e.g., “Start with a 3×3 dot pattern this weekend and share your result!”).
- D. Final Uplifting Call to Action: Invite comments, questions, and sharing of their own easy design tips and photos.